

So naturally, I HAD to start making clothes for this little cutie. I have been having so much fun making these miniature sized goodies and I wanted to share a little about the process.
First, I dye the fabric. For this particular dress, I used a new dyeing method...SNOW dyeing. I am not always a fan of the cold season, but I've got to say, after I started snow dyeing, I have a new appreciation for the white fluffy stuff. I am actually a little sad that there will be no more snow for awhile. Who would have thunk it?
The first thing you want to do is find yourself a handsome feller to scoop you up a large bucket o'snow.

Soak fabric in a bucket of warm water and soda ash for 10 minutes. 1 cup soda ash/2 gallons of water.


Prepare dye concentrates. Dissolve 2 tsp dye in 1/2 cup warm water. Directions suggest adding urea to the mix, but I didn't have any. Used plastic
water or soda bottles make good containers for dye concentrate. Always wear a mask when mixing dye powder + water.

Remove the fabric from the soda ash container, and wring it out. Scrunch up the prepared fabric (soaked in soda ash water) evenly on the surface, making little peaks and valleys. Leave room on your surface to pack the snow around the edges of the fabric. For variation, fabrics can be roughly pleated or twisted or arranged in other patterns. Note that tightly compressed fabric will resist the dyes, leaving white areas when rinsed.

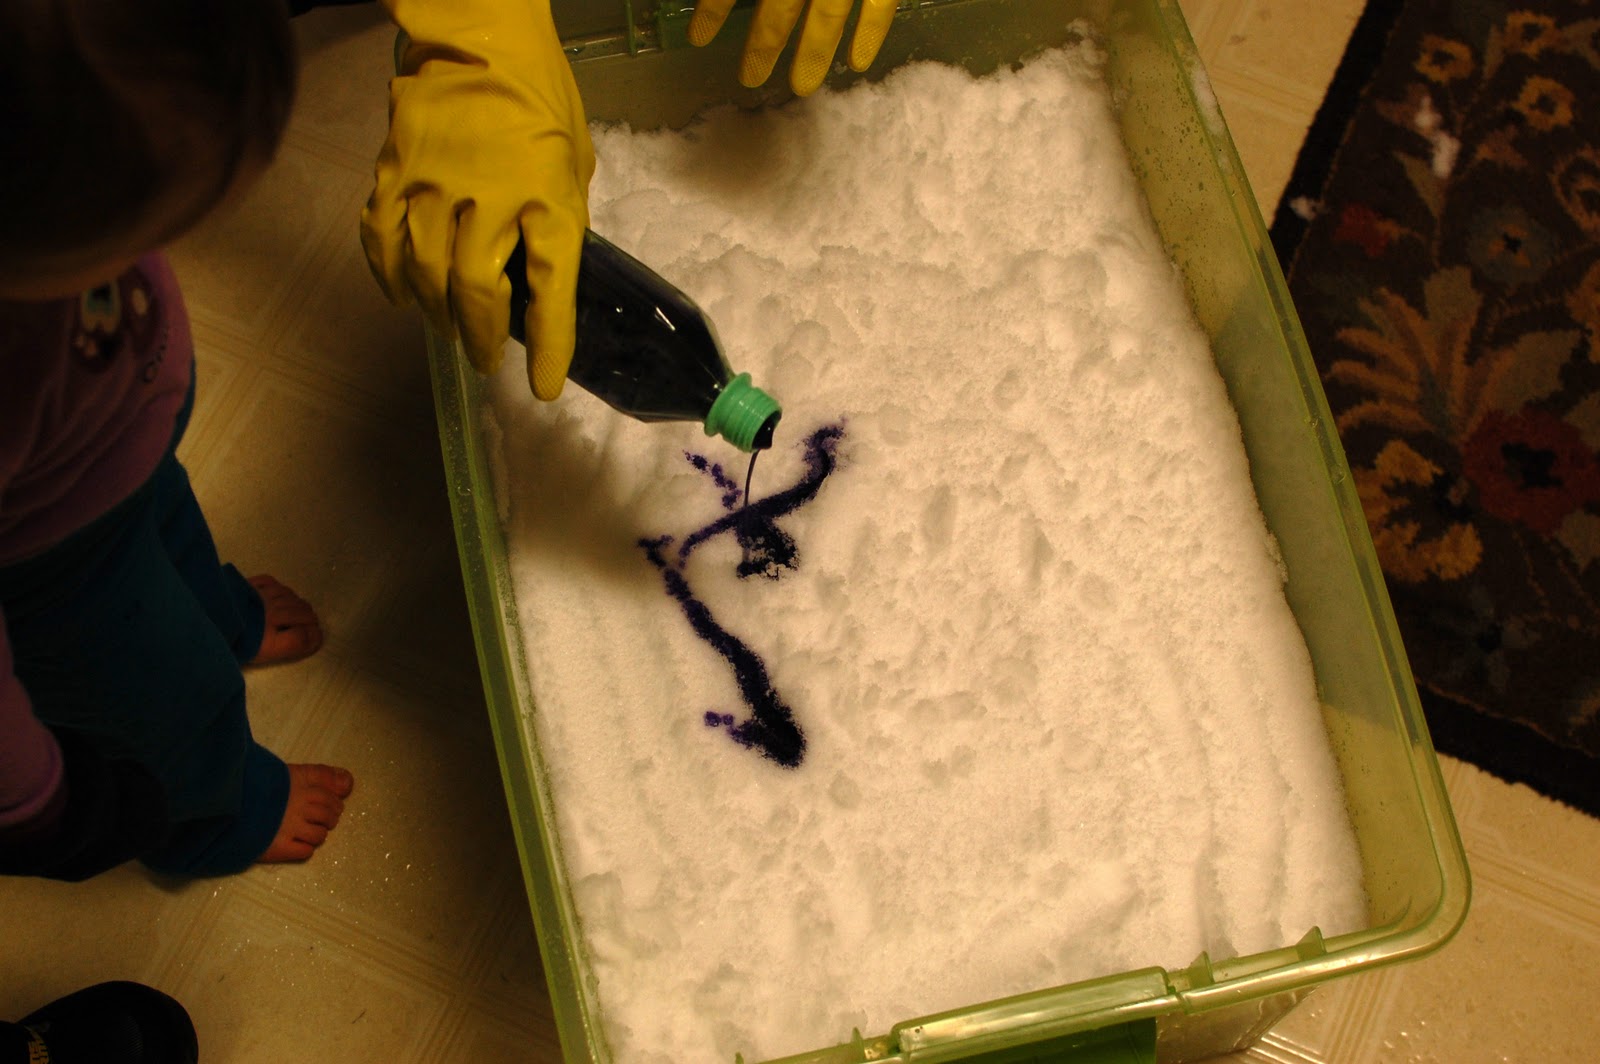
Get some really cute helpers to help you pack 3 inches of snow on top of your fabric.


Now for the fun part. Drizzle your dye, one color at a time, trying to cover entire surface.

Voila! Now it's time to wait for it to melt. This can take many hours. Hang in there guys!

You can see the magic starting to happen!

Snack break for hungry workers.

After a couple of hours.

After 6ish hours or so...

See the melted dye on bottom...

Almost there. I put the lid on at this point and left it over night.

Next morning. Then I rinsed it out until water ran clear. Threw it in the washing machine on hot.

Ta-da! SO PRETTY!


I am totally in love with this new method of dyeing. The colors are so unpredictable and free flowing. See, the thing is, chilling the dye concentrates by mixing them with snow causes some dyes to separate into their component colors, and makes the dyes strike the fabric at different rates. The results are surprising and always beautiful.
Now that the fabric has been dyed, it's time to move on to the screen printing. YAY! I chose my hummingbird design because a.) I love it. AND b.) it's the smallest image that I have right now for the wee-sized dress. (New tiny designs coming soon!)

Then I rummaged through my collection of knits to find coordinating fabrics to use for the other components of the dress. I love that part. Well, technically, I love all the parts of the process, who am I kidding :) Here is what I came up with...

Then I cut them up...

and sewed them all together! LOVE it.

I am now officially addicted to 2 things. 1. Trying my luck EVERY Friday to win another sweet, sweet Bamboletta doll. 2. Making tiny little clothes to fit said sweet dolls.
Oh, and I decided to enter the Lil Blue Boo/ Dharma Trading Design Challenge with this little number too!
How fabulous! It's really cool that you did the dye yourself, and the finished product looks very nice indeed. The dress is kind of like a nice painting with the dye and the hummingbird, don't you think?
ReplyDelete-Chris Jeffery